How to Install Windows 11 Step by Step (The Easy Guide)
Upgrading to Windows 11? Whether you're setting up a new PC or upgrading from Windows 10, this step-by-step guide will walk you through the entire process—safely and without headaches.
I’ve helped hundreds of users install Windows 11 (including my tech-challenged aunt!), so I know the common pitfalls. By the end of this guide, you’ll have a fast, secure, and fully optimized Windows 11 system—no guesswork needed.
Let’s dive in!

Before You Begin: Is Your PC Ready for Windows 11?
Before installing Windows 11, check if your device meets the system requirements. Microsoft has stricter rules for Windows 11 compared to Windows 10.
H3: Windows 11 System Requirements
Here’s what your PC needs:
- Processor: 1 GHz or faster with 2+ cores (64-bit)
- RAM: 4 GB minimum (8 GB recommended)
- Storage: 64 GB or larger
- TPM: Version 2.0 (Trusted Platform Module)
- Secure Boot: Enabled in BIOS
- Graphics: DirectX 12 compatible / WDDM 2.x
- Display: 720p, 9" or larger, 8 bits per color channel

Not sure if your PC qualifies?
- Press Win + R, type
tpm.msc, and check TPM status. - Download Microsoft’s PC Health Check Tool (official link).
Real-life example: My friend’s 2017 laptop didn’t support TPM 2.0, so he had to bypass the requirement (more on that later).
How to Install Windows 11 (3 Easy Methods)
There are three main ways to install Windows 11:
Windows Update (easiest, for existing Windows 10 users)
Media Creation Tool (USB/DVD installer)
Clean Install via ISO (advanced users)
Let’s break them down.
Method 1 – Upgrade via Windows Update (Simplest)
If you’re on Windows 10, Microsoft may offer Windows 11 automatically. Here’s how to trigger it:
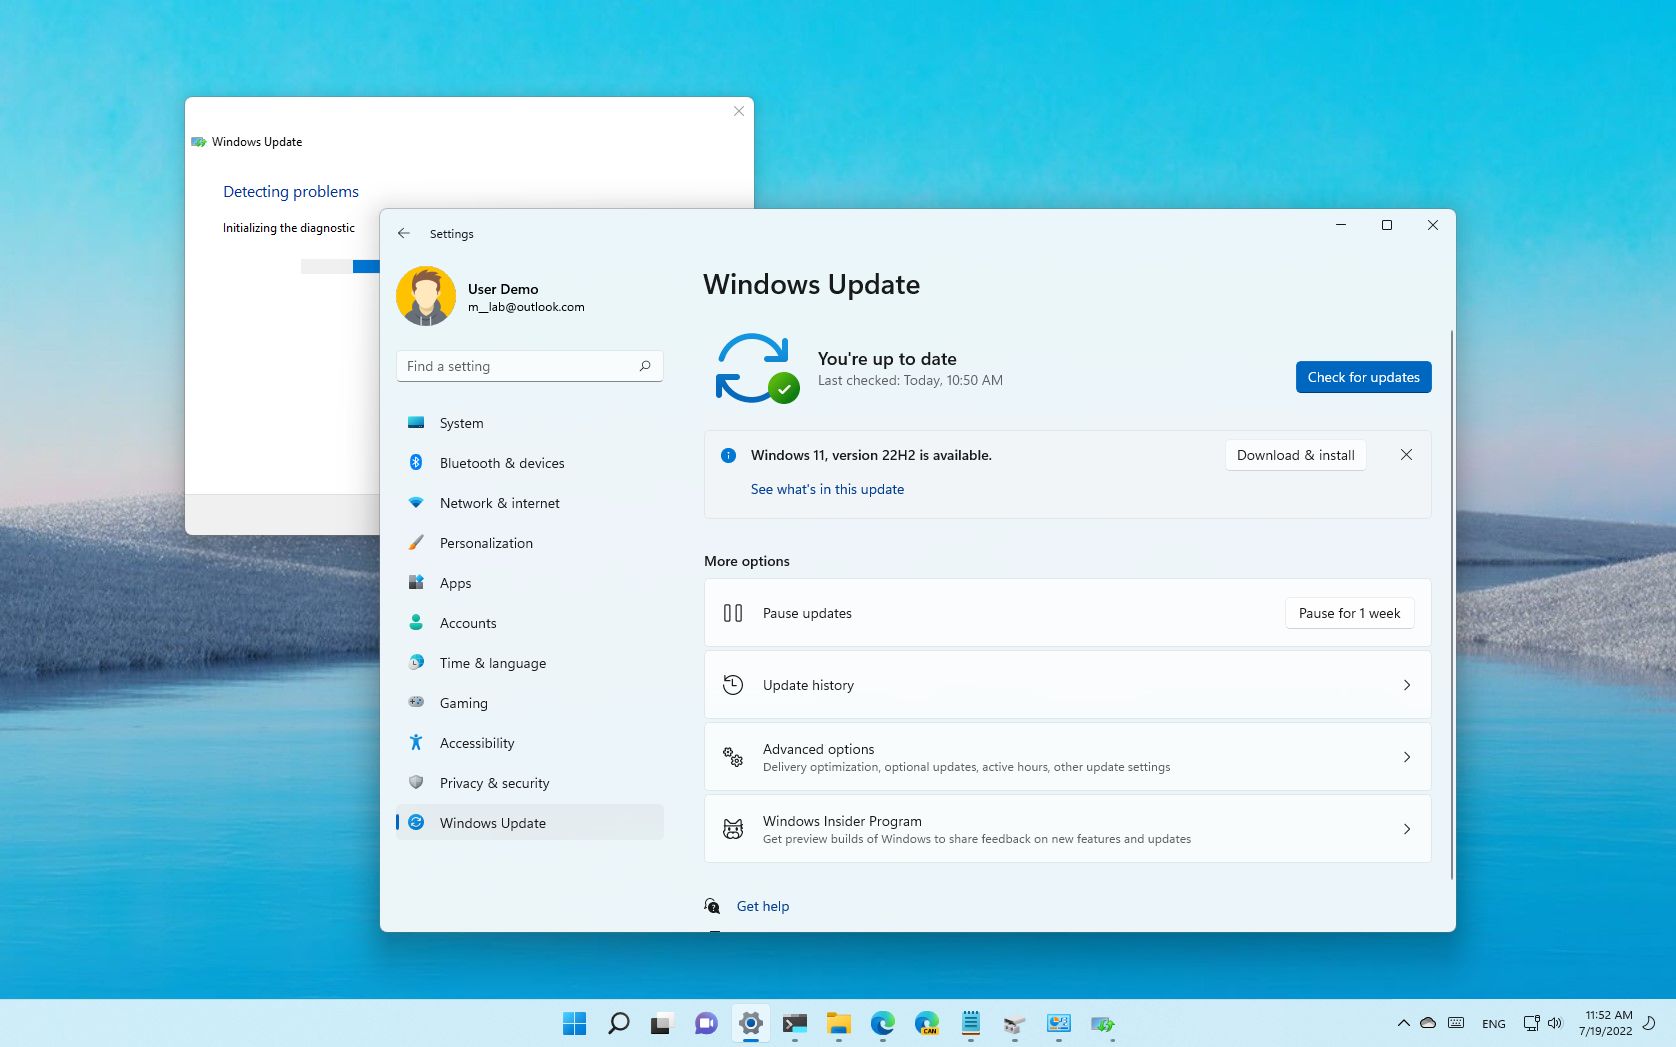
Open Settings (Win + I) → Update & Security → Windows Update.
Click Check for updates.
If Windows 11 appears, select Download and install.
Follow the prompts and restart when asked.
Pro Tip: If Windows 11 doesn’t show up, your PC might not meet requirements. Try the next method.
Method 2 – Install Using Media Creation Tool (USB/DVD)
Best for fresh installs or if Windows Update fails.
H4: Step 1 – Download the Media Creation Tool
Click Download Now under "Create Windows 11 Installation Media".
Step 2 – Create a Bootable USB
Run the tool and accept the terms.
Select Create installation media (USB flash drive, DVD, or ISO).
Choose language, edition (Home/Pro), and architecture (64-bit).
Plug in a USB (8GB+) and select it.
Wait for completion (~20 mins).
Step 3 – Install Windows 11
Restart your PC and boot from USB (press F12/DEL/ESC to enter Boot Menu).
Select USB drive and follow setup prompts.
Enter your product key (or skip if upgrading).
Choose Custom Install (for clean setup) or Upgrade (keep files).
Follow on-screen instructions—Windows 11 will install automatically.
Expert Tip: Backup your files first! A clean install wipes everything.
Method 3 – Clean Install Using ISO (Advanced Users)
If you prefer full control, use an ISO file.
Download Windows 11 ISO from Microsoft’s site.
Mount the ISO (double-click) or burn it to a DVD.
Run setup.exe and follow instructions.
Choose "Keep personal files" or "Nothing" for a fresh start.
Warning: This method erases apps, so backup first!
What If Your PC Doesn’t Meet Requirements?
Microsoft blocks some older PCs, but you can bypass it (at your own risk).
How to Install Windows 11 on Unsupported Hardware
Modify Registry (for upgrades):
Press Win + R, type
regedit, and navigate to:HKEY_LOCAL_MACHINE\SYSTEM\Setup\MoSetup
- Create a new DWORD (32-bit) named
AllowUpgradesWithUnsupportedTPMOrCPUand set value to 1. - Restart and check Windows Update again.
Use Rufus to Create a Bypass USB:
- Download Rufus.
- Select Windows 11 ISO and enable "Remove TPM/Secure Boot checks".
Proceed with installation.
Note: Unsupported PCs won’t get updates, so proceed cautiously.
Post-Installation Setup & Optimization
Once Windows 11 is installed, optimize it for speed and security.
Essential Settings to Configure
✔ Privacy Settings: Disable unnecessary tracking (Settings → Privacy).
✔ Windows Updates: Enable automatic updates for security.
✔ Defender & Firewall: Keep them on for protection.
✔ Start Menu: Pin frequently used apps for quick access.
Must-Do Performance Tweaks
- Disable Startup Apps: (Ctrl + Shift + Esc → Startup tab).
- Adjust Power Mode: (Settings → System → Power → Best Performance).
- Clear Bloatware: Uninstall preloaded apps you don’t need.
Common Windows 11 Installation Issues (Solved)
Error: "This PC Can’t Run Windows 11"
Fix: Enable TPM 2.0/Secure Boot in BIOS or use the bypass methods above.
Stuck at Boot Loop After Install?
Fix: Boot into Safe Mode (hold Shift + Restart) and run Startup Repair.
Wi-Fi/Driver Issues Post-Install?
Fix: Download drivers from the manufacturer’s website or use Windows Update.
Final Thoughts
Installing Windows 11 is straightforward if you follow the right steps. Whether you’re upgrading or doing a clean install, this guide ensures a smooth, error-free process.
Need help? Drop a comment below—I respond to every question!
Now, go enjoy Windows 11’s sleek design, gaming boosts, and productivity features.


0 Comments